

Deploying AI Models
Bunyan lets you deploy large language models (LLMs), embedding models, and computer vision models as inference servers with full API access. You can either pick a model from the built-in catalog or bring your own custom model.
Option 1 — Deploy from the Catalog
Use the deployment catalog to browse pre-configured models and deploy one. The AI Catalog separately manages model configurations used in Bunyan.
Step 1 — Open the Catalog
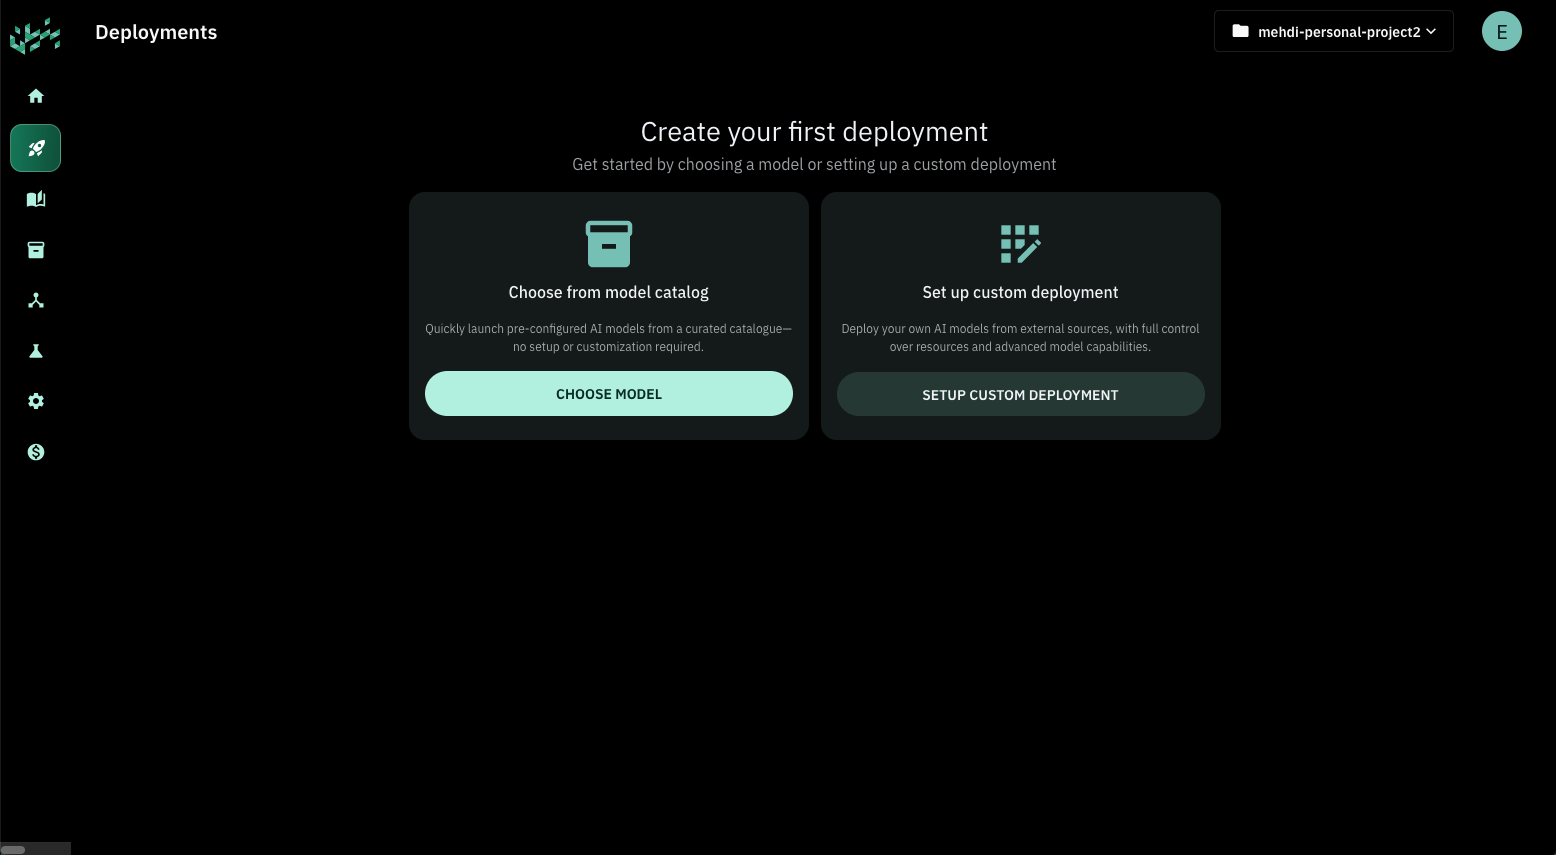
Click Choose from Catalog on the deployment page.
Step 2 — Select a Model
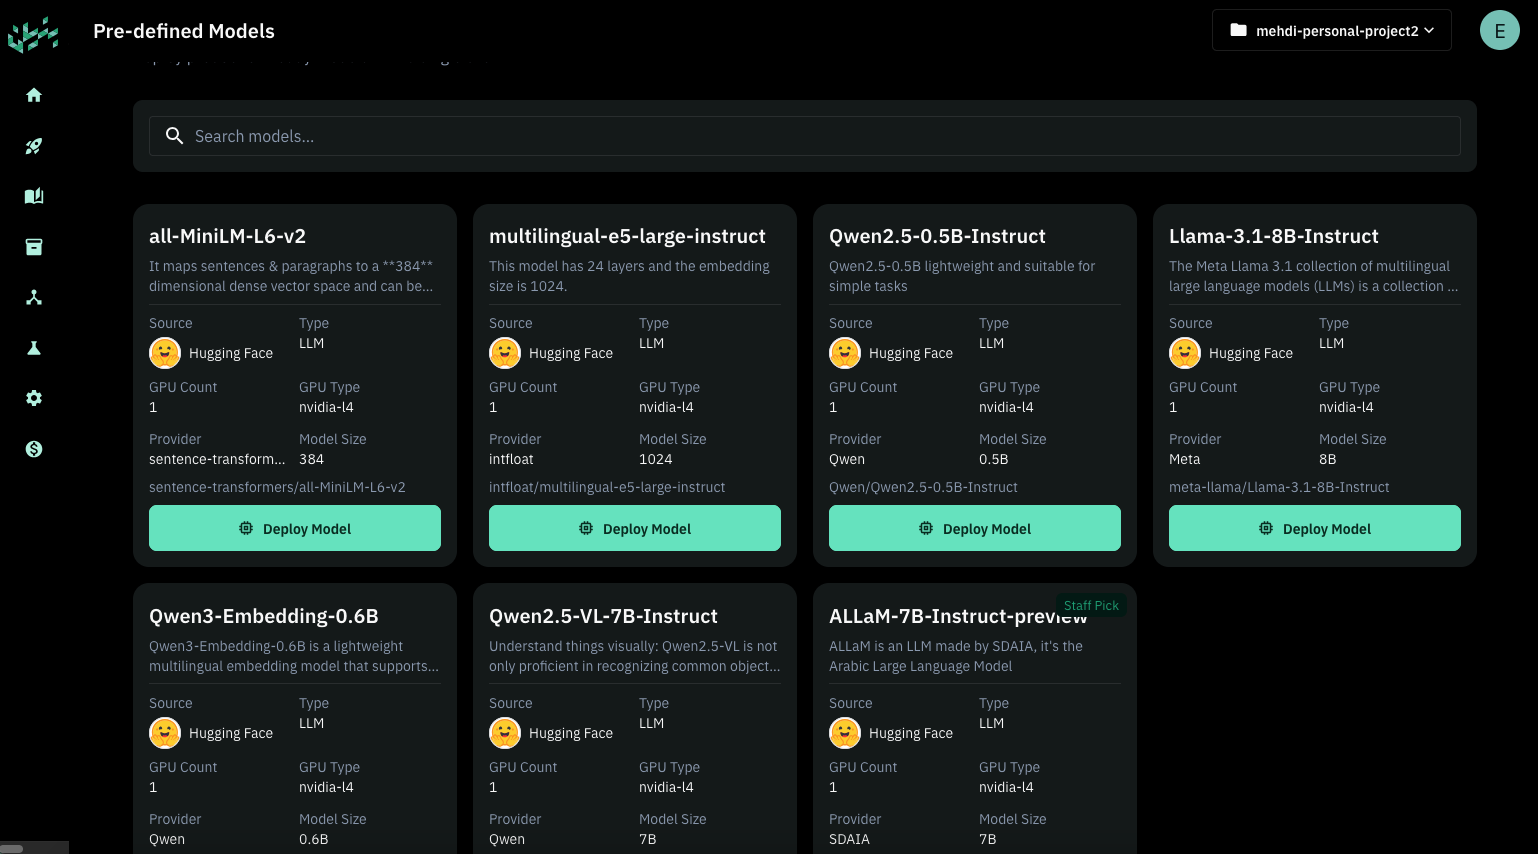
Browse the catalog and choose the model that best fits your use case (e.g., an LLM for text generation, or an embedding model for RAG).
Step 3 — Deploy
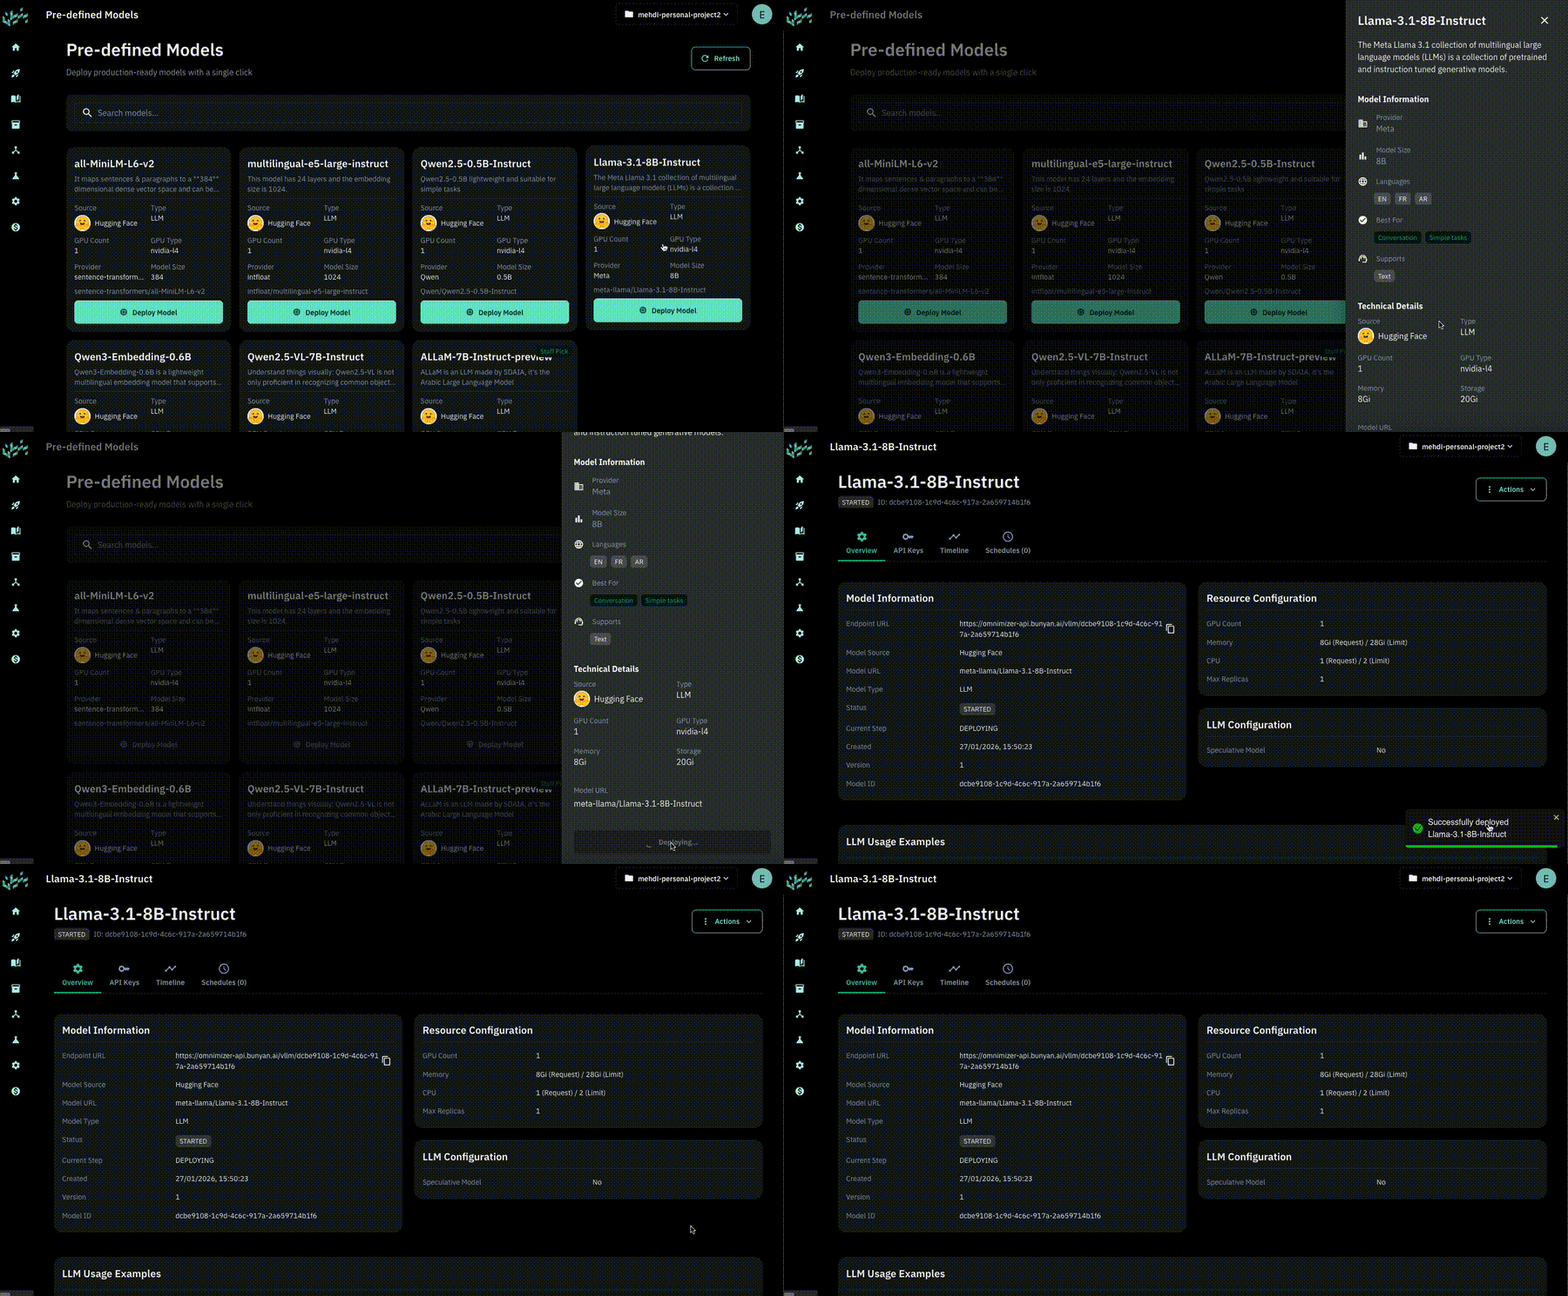
Click Deploy. Bunyan provisions an inference server for the selected model.
Step 4 — Wait for Success
Monitor the deployment status. Once it turns Success, your model is live and ready to receive API requests.
Option 2 — Deploy a Custom Model
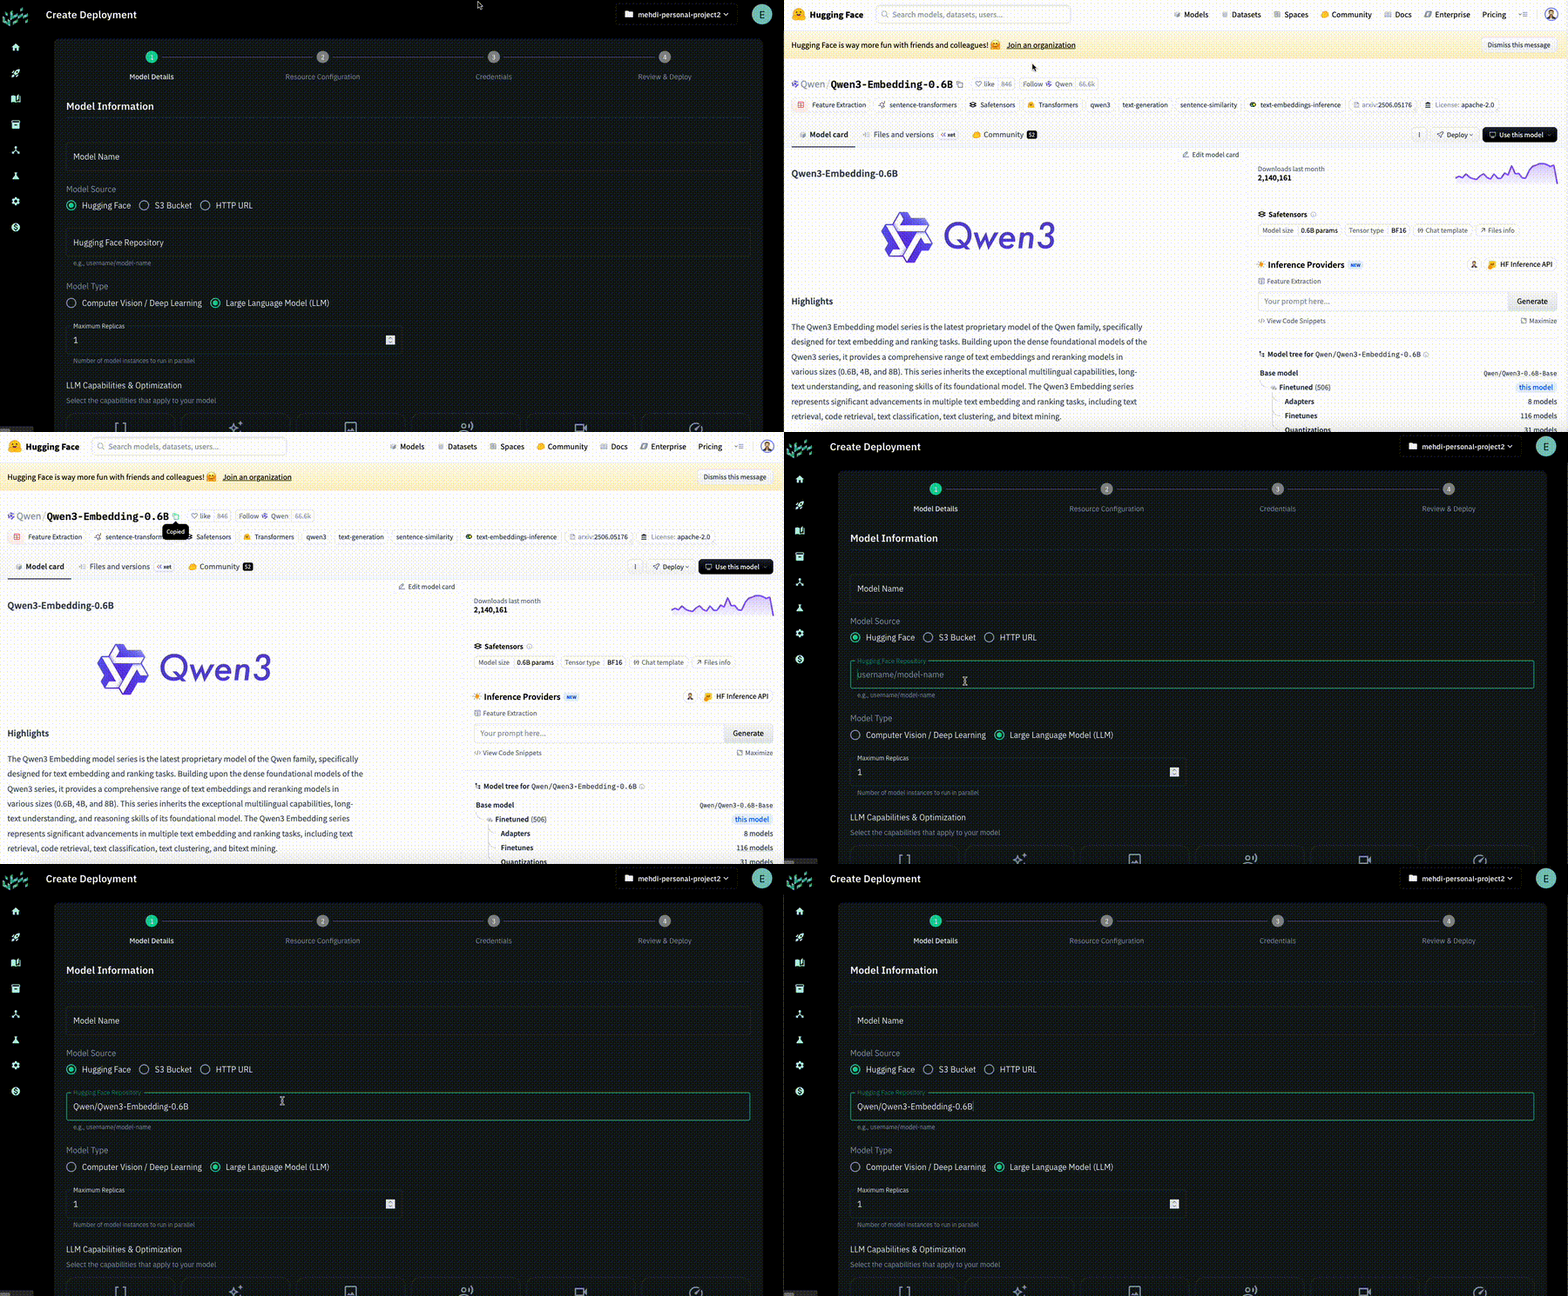
Bring your own model from Hugging Face or S3.
Step 1 — Start a Custom Deployment
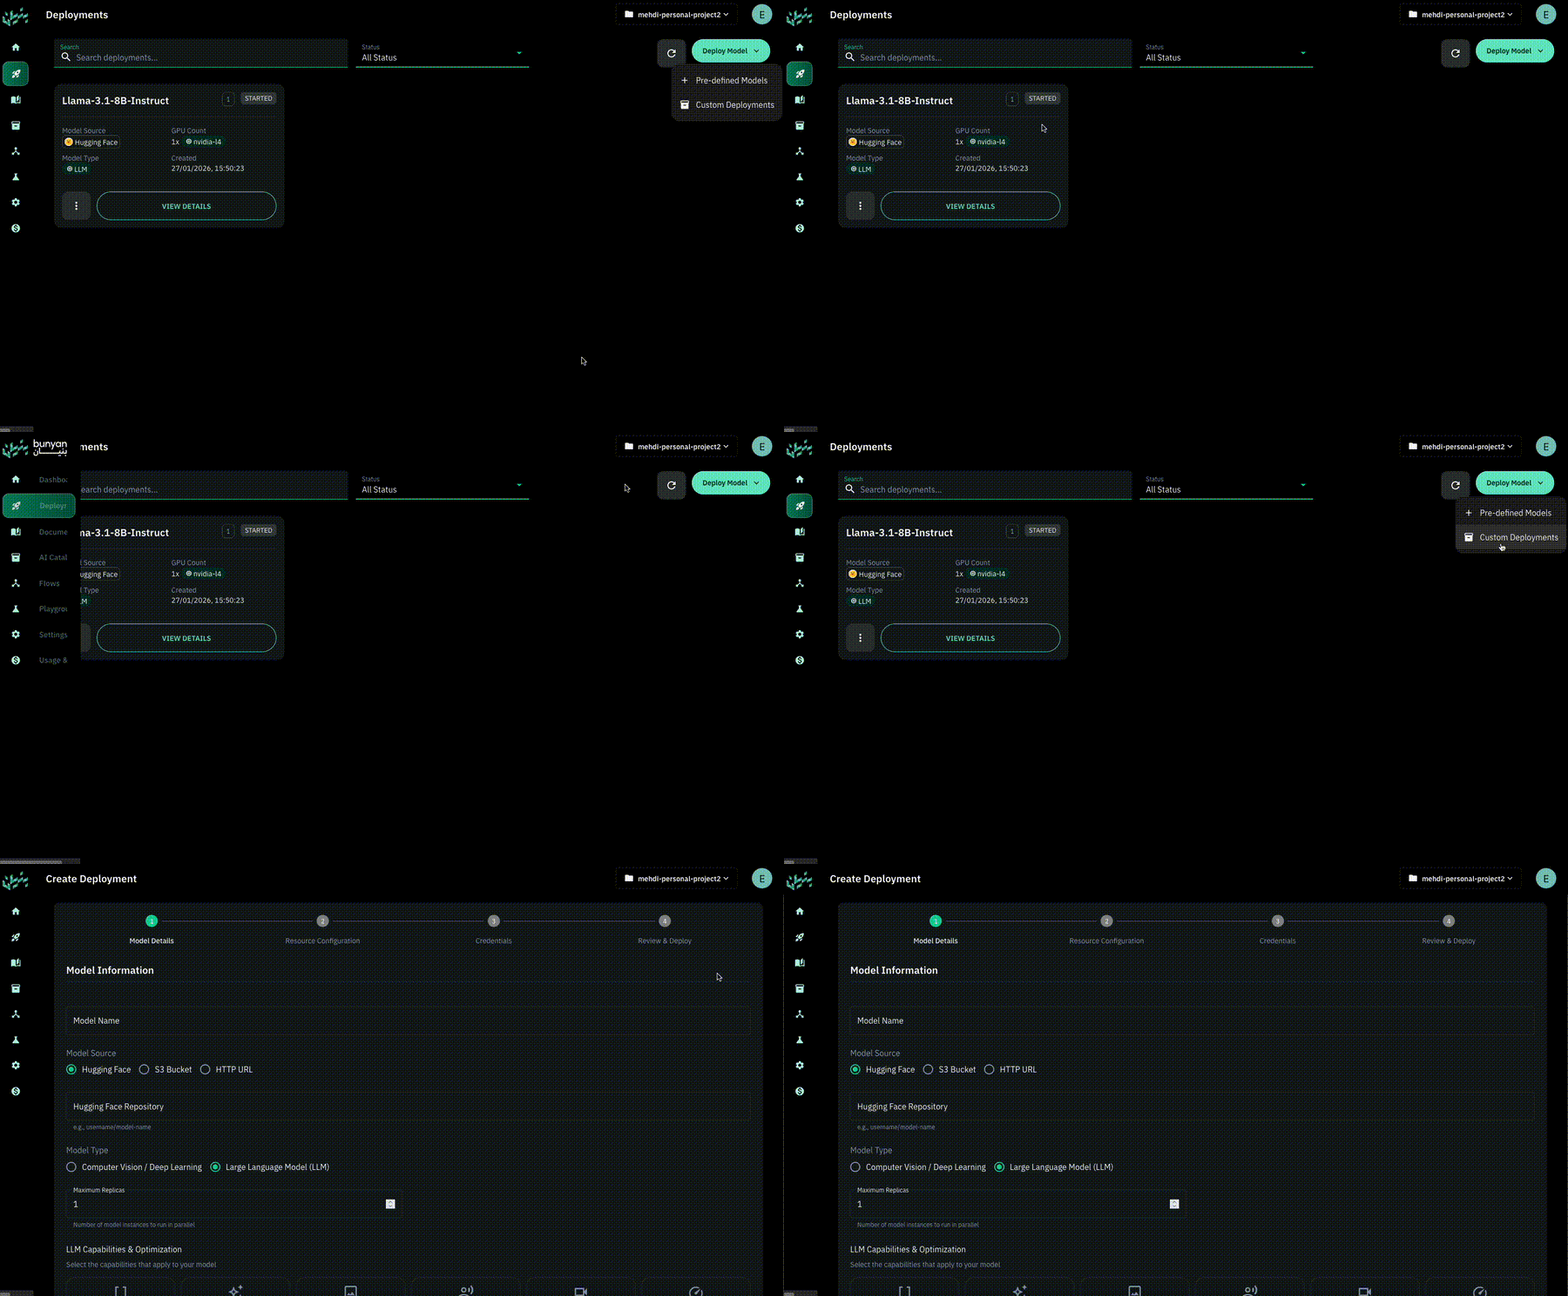
Click Set up custom deployment on the deployment page.
Step 2 — Choose a Source
Select where your model is hosted:
| Source | Type | Requirements |
|---|---|---|
| Hugging Face | Online | Model name; an access token when required by the model |
| S3 | Online / Offline | .zip or .tgz archive of model files, plus S3 credentials |
Note
For S3 sources, the model files must be packaged as a .zip or .tgz archive.
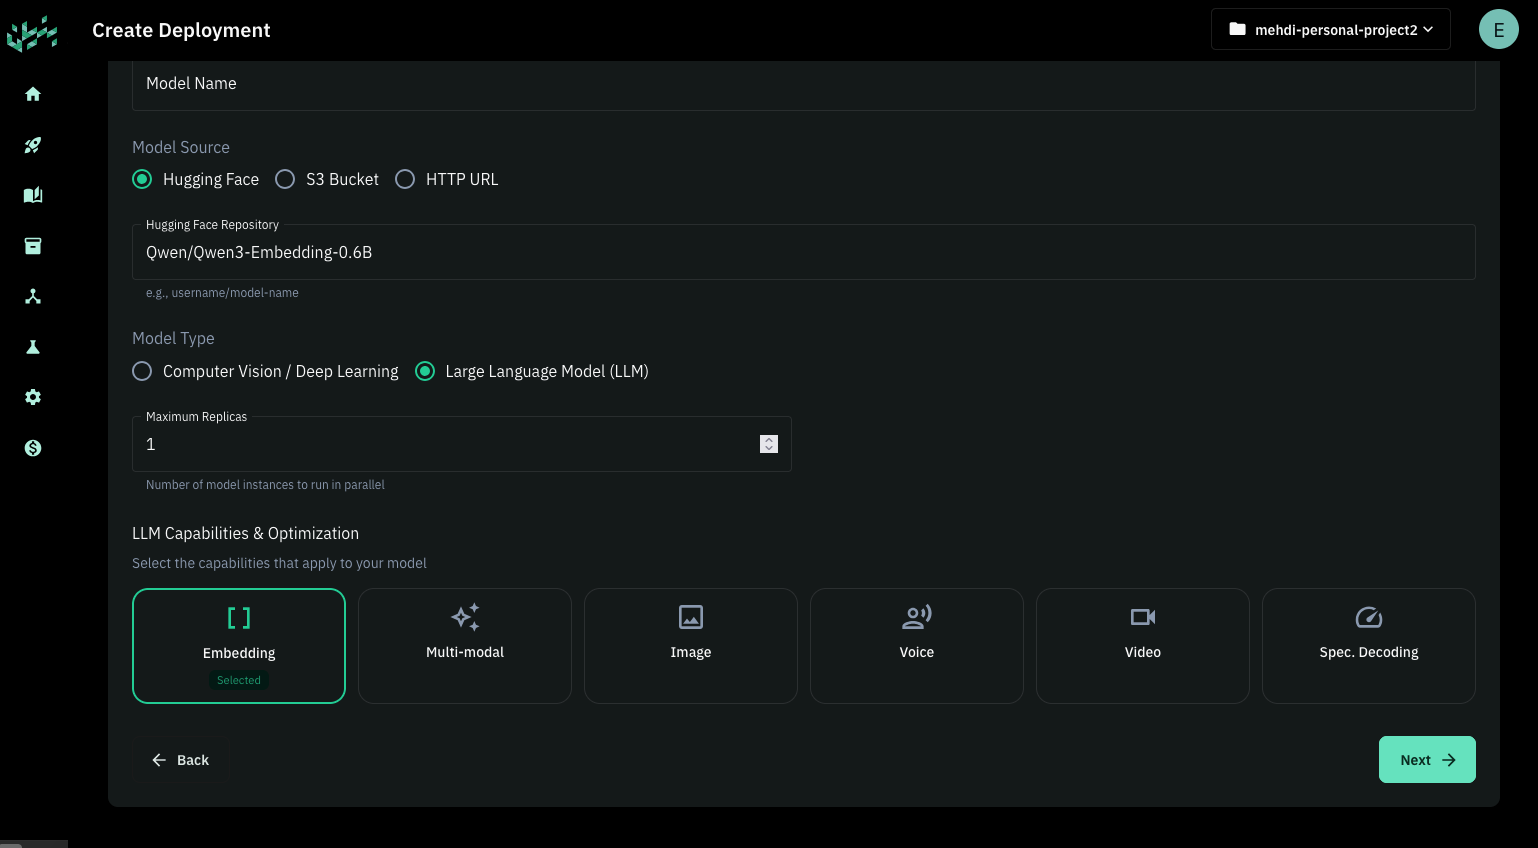
Step 3 — Configure Model Type
Check the boxes that describe your model's capabilities. For example, if you are deploying an embedding model, make sure the Embedding option is selected.
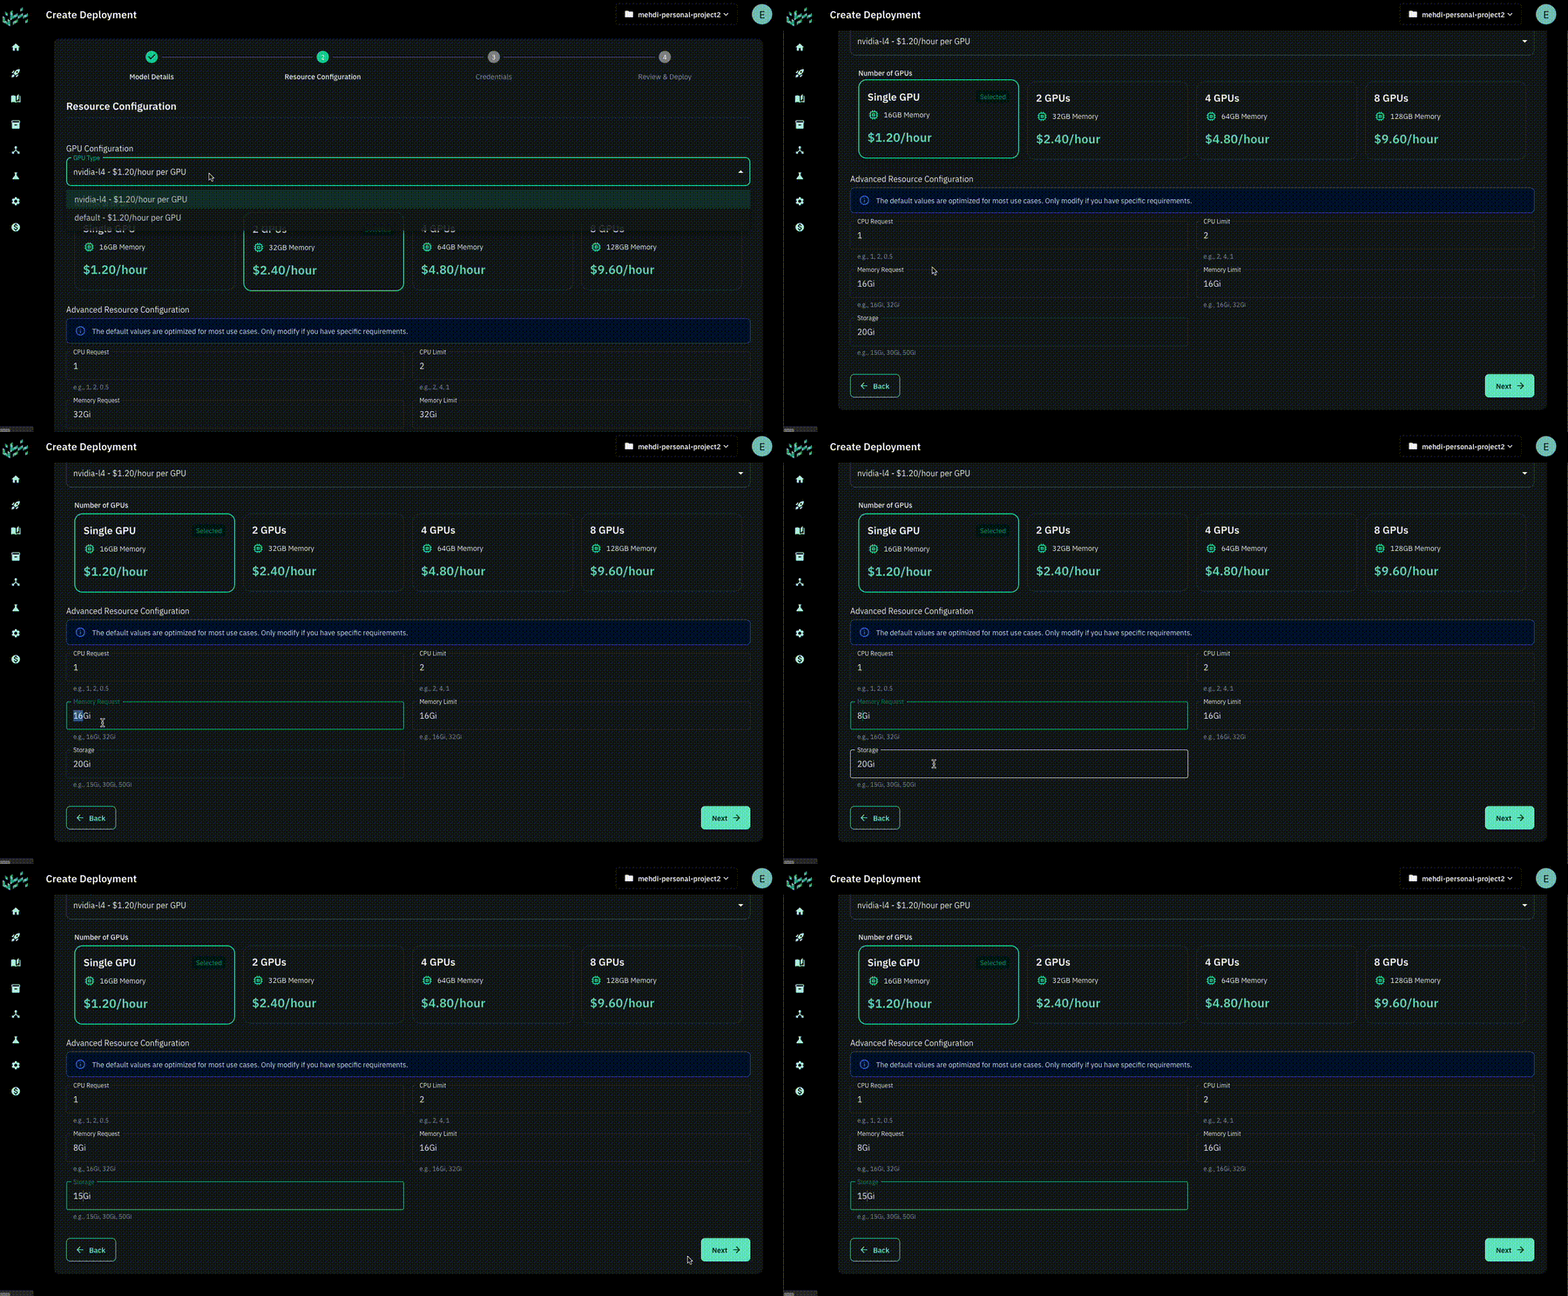
Step 4 — Select Hardware
Choose the GPU and CPU/RAM/Storage configuration for your deployment.
Step 5 — Enter Credentials (if required)
If you selected Hugging Face or S3 as the source, you will be prompted to provide credentials:
- Hugging Face — Choose None (public models only) for a public model that does not require authentication, or provide a Hugging Face access token when required.
- S3 — Enter your S3 secret key and access key.
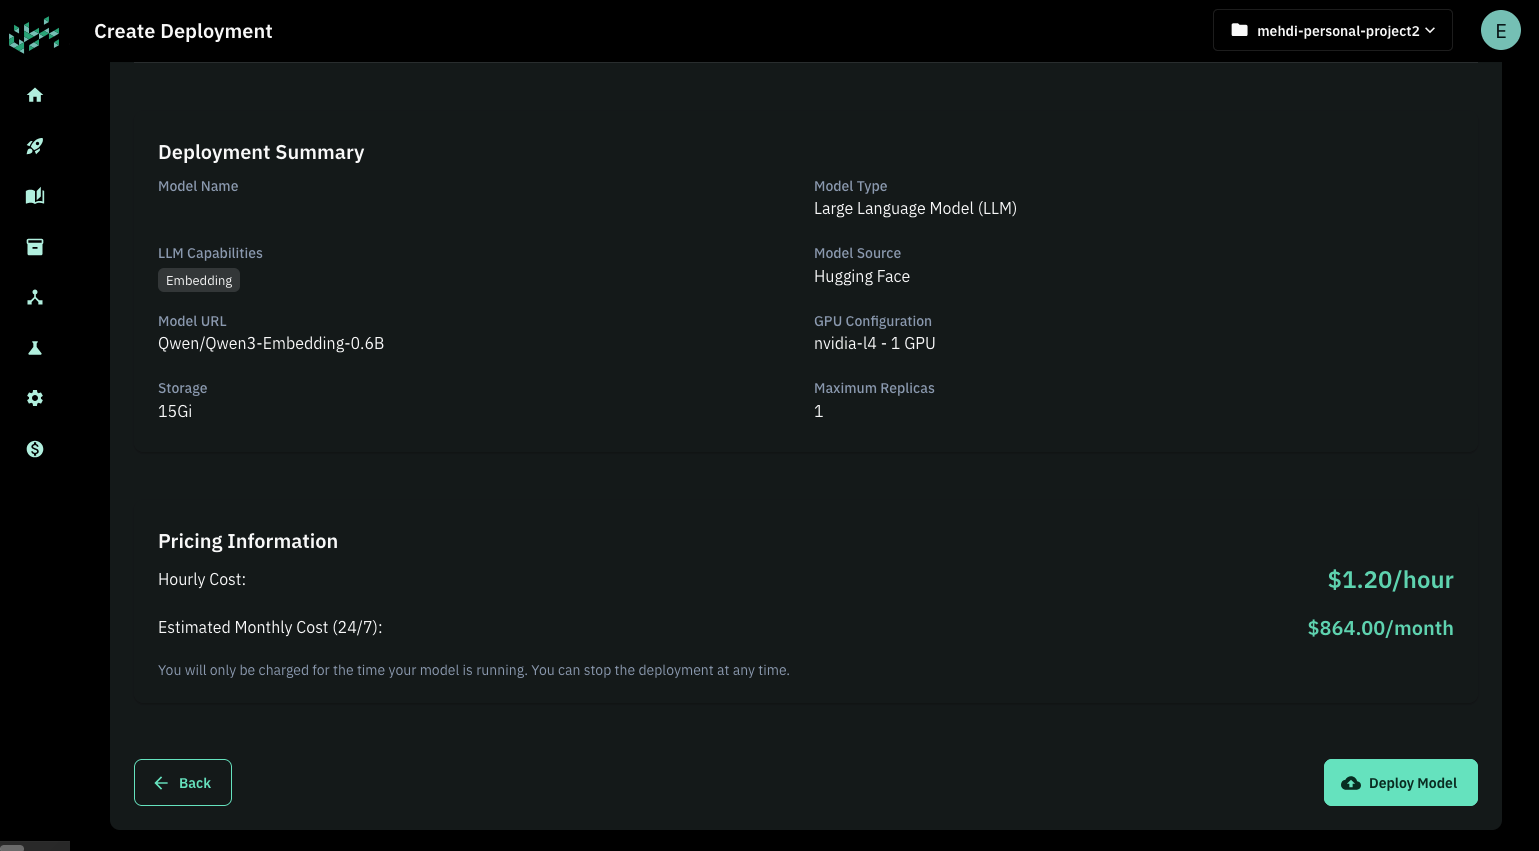
Step 6 — Review and Deploy
A summary of your deployment configuration is displayed. Review it to make sure nothing is missing, then click Deploy.
Step 7 — Wait for Success
Monitor the deployment status. Once it turns Success, your custom model is live.
What's Next?
- Create an API Key — Generate and manage API keys for model access.
- LLM Endpoints — Call available LLM configurations through the chat completions API.
- Schedule Inference Uptime — Configure when your inference server runs.