

Create a Workflow
Build, test, and enable a scheduled email reminder using the visual editor.
Build a daily email reminder with two steps: a schedule trigger and Gmail's Send Email action. This example uses the visual editor and does not require code or API requests.
Before You Start
Choose a project where you can create flows and a Gmail account you can authorize for sending email. Use your own recipient address for the first test.
1. Create the Workflow
- Open Flows in the sidebar.
- Select New Flow.
- Enter a name, such as
daily-reminder, and select your project. - Create the flow, then open it in the visual editor.
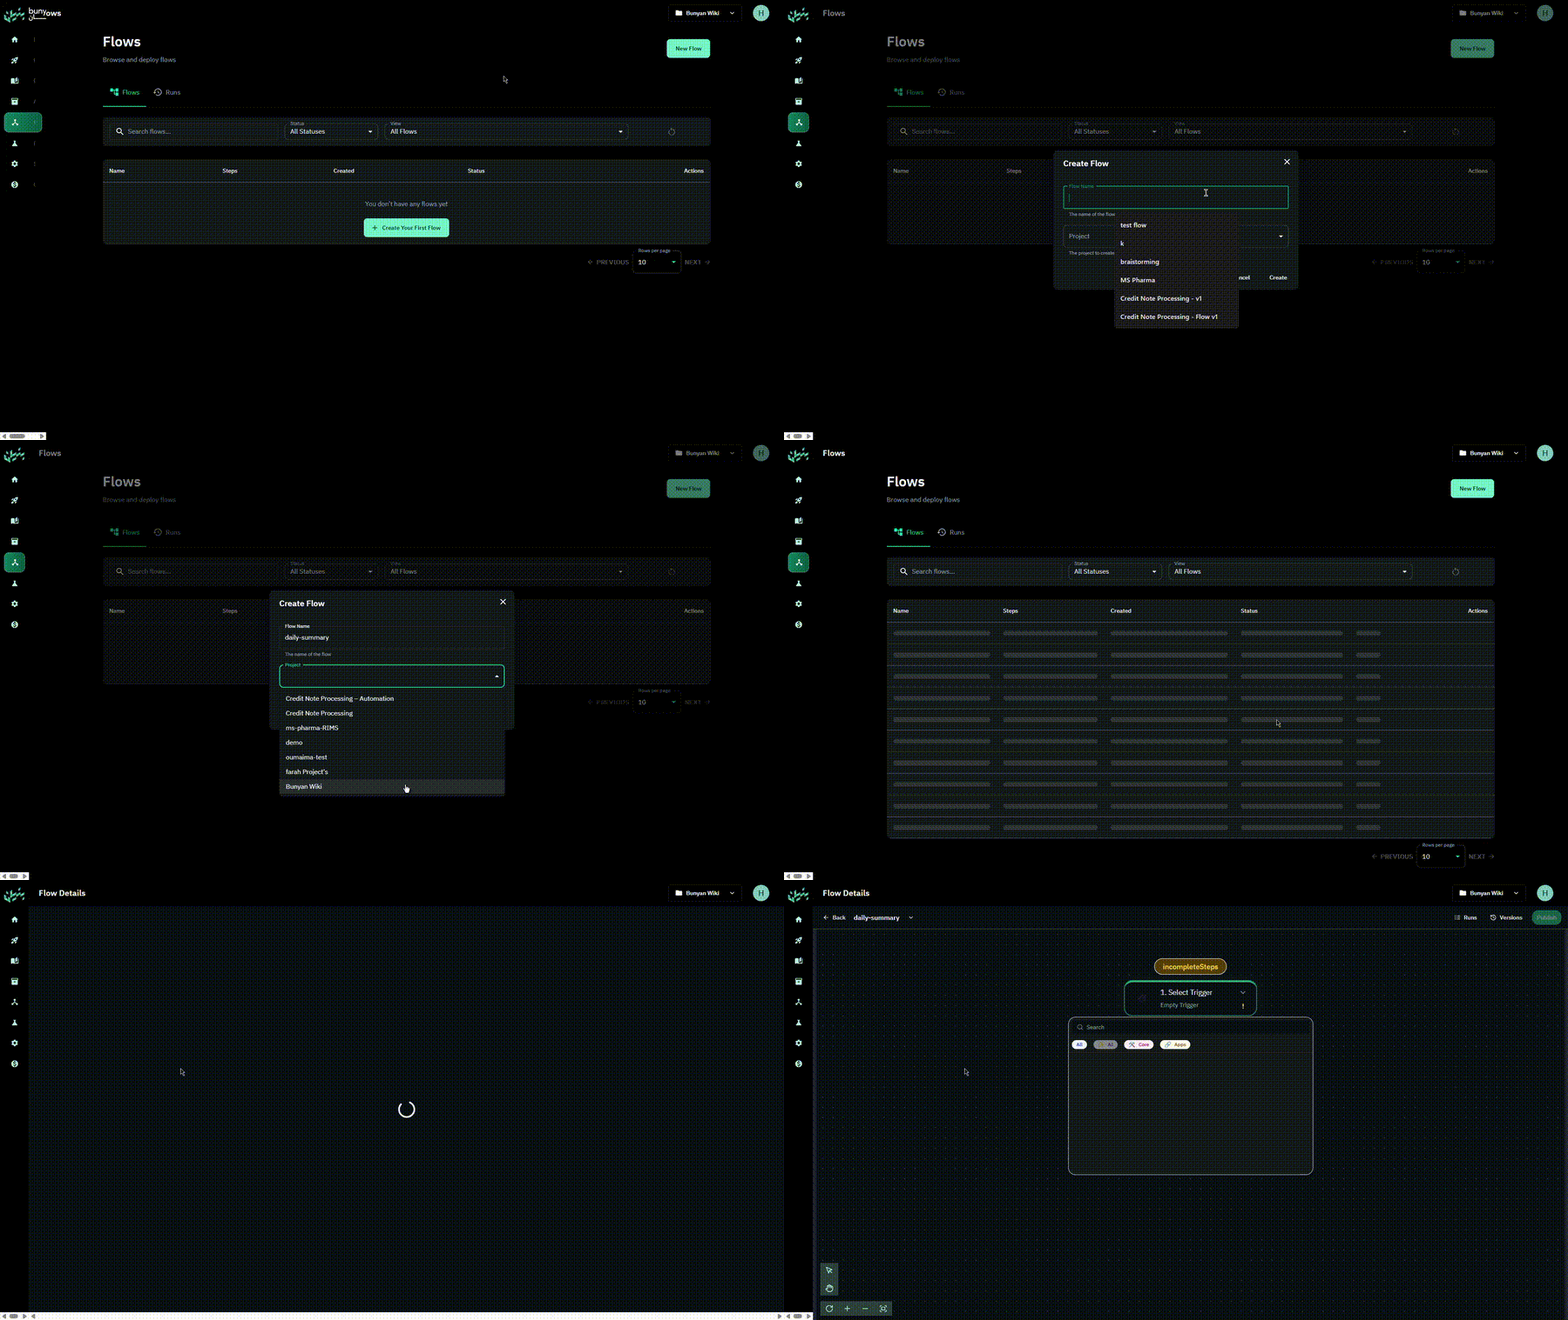
2. Add a Trigger Step
- Select the trigger and search for Schedule.
- Choose Cron Expression.
- Enter
0 9 * * *to run daily at 09:00. - Select the timezone in which the schedule should run.
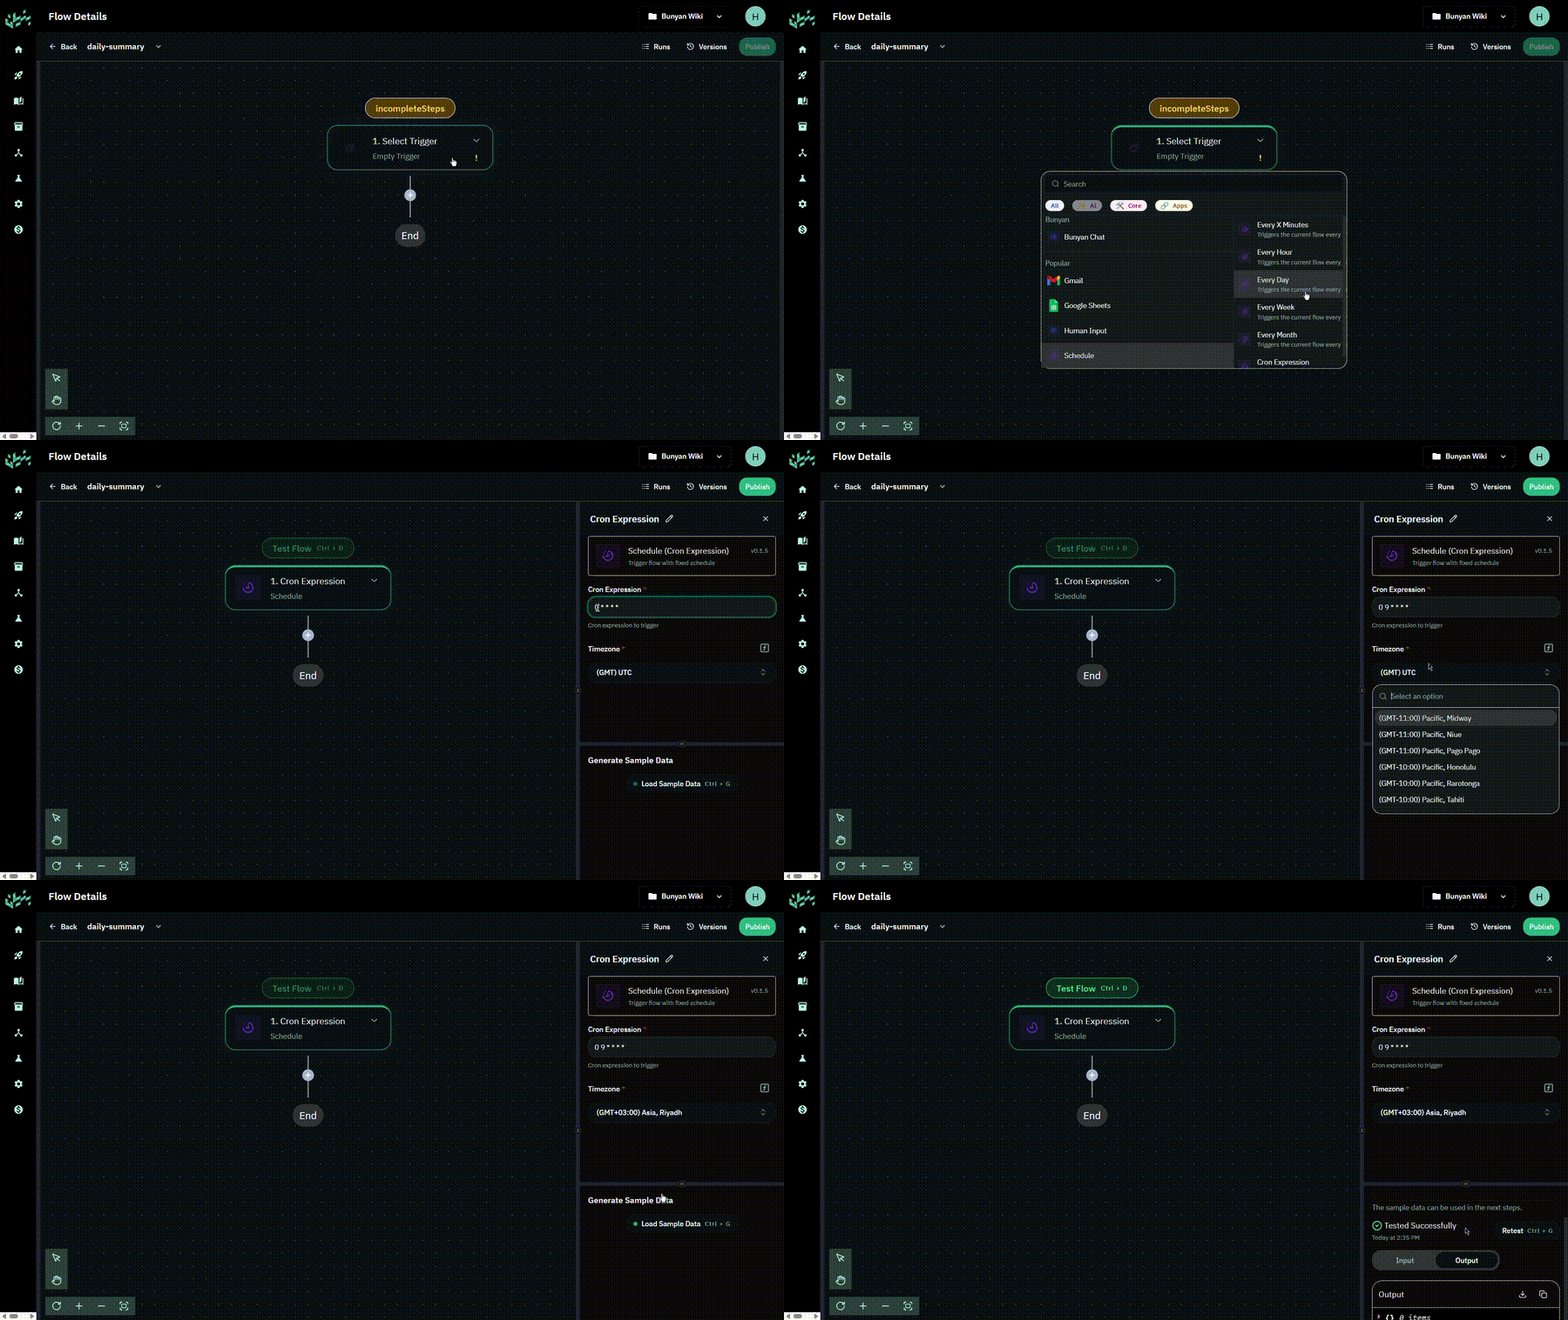
The selected timezone determines what 09:00 means. Check it before enabling the flow.
3. Send Email
- Select + after the trigger.
- Choose Gmail → Send Email.
- Select an existing Gmail connection, or create one and complete Google's authorization steps.
- Configure the action:
| Field | Example or setting |
|---|---|
| Receiver Email (To) | Your own email address for testing. |
| Subject | Daily team reminder |
| Body Type | plain text |
| Body | Please review today's tasks and update your project notes. |
| Create draft | Enable for the first test to create a Gmail draft instead of sending. |
You can add more recipients after checking the result. The selected Gmail connection determines which account sends the message.
Testing the Workflow
- Keep Create draft enabled and use Test Step on the Gmail action.
- Inspect the step's Input and Output, then check the connected Gmail account for the draft.
- Use Test Flow to test the complete workflow and inspect the run.
- When the content and recipient are correct, turn off Create draft. A subsequent test of the email action can send a real email.
Testing executes actions; repeating a test can create another draft or send another message. See Debug Executions if a step fails.
Enabling and Publishing
- Select Publish to publish the workflow version you have tested.
- Check the flow's status and set it to Enabled if necessary. Publishing does not always enable a flow automatically.
- Confirm the trigger's timezone, recipient, and Create draft setting before leaving the flow enabled.
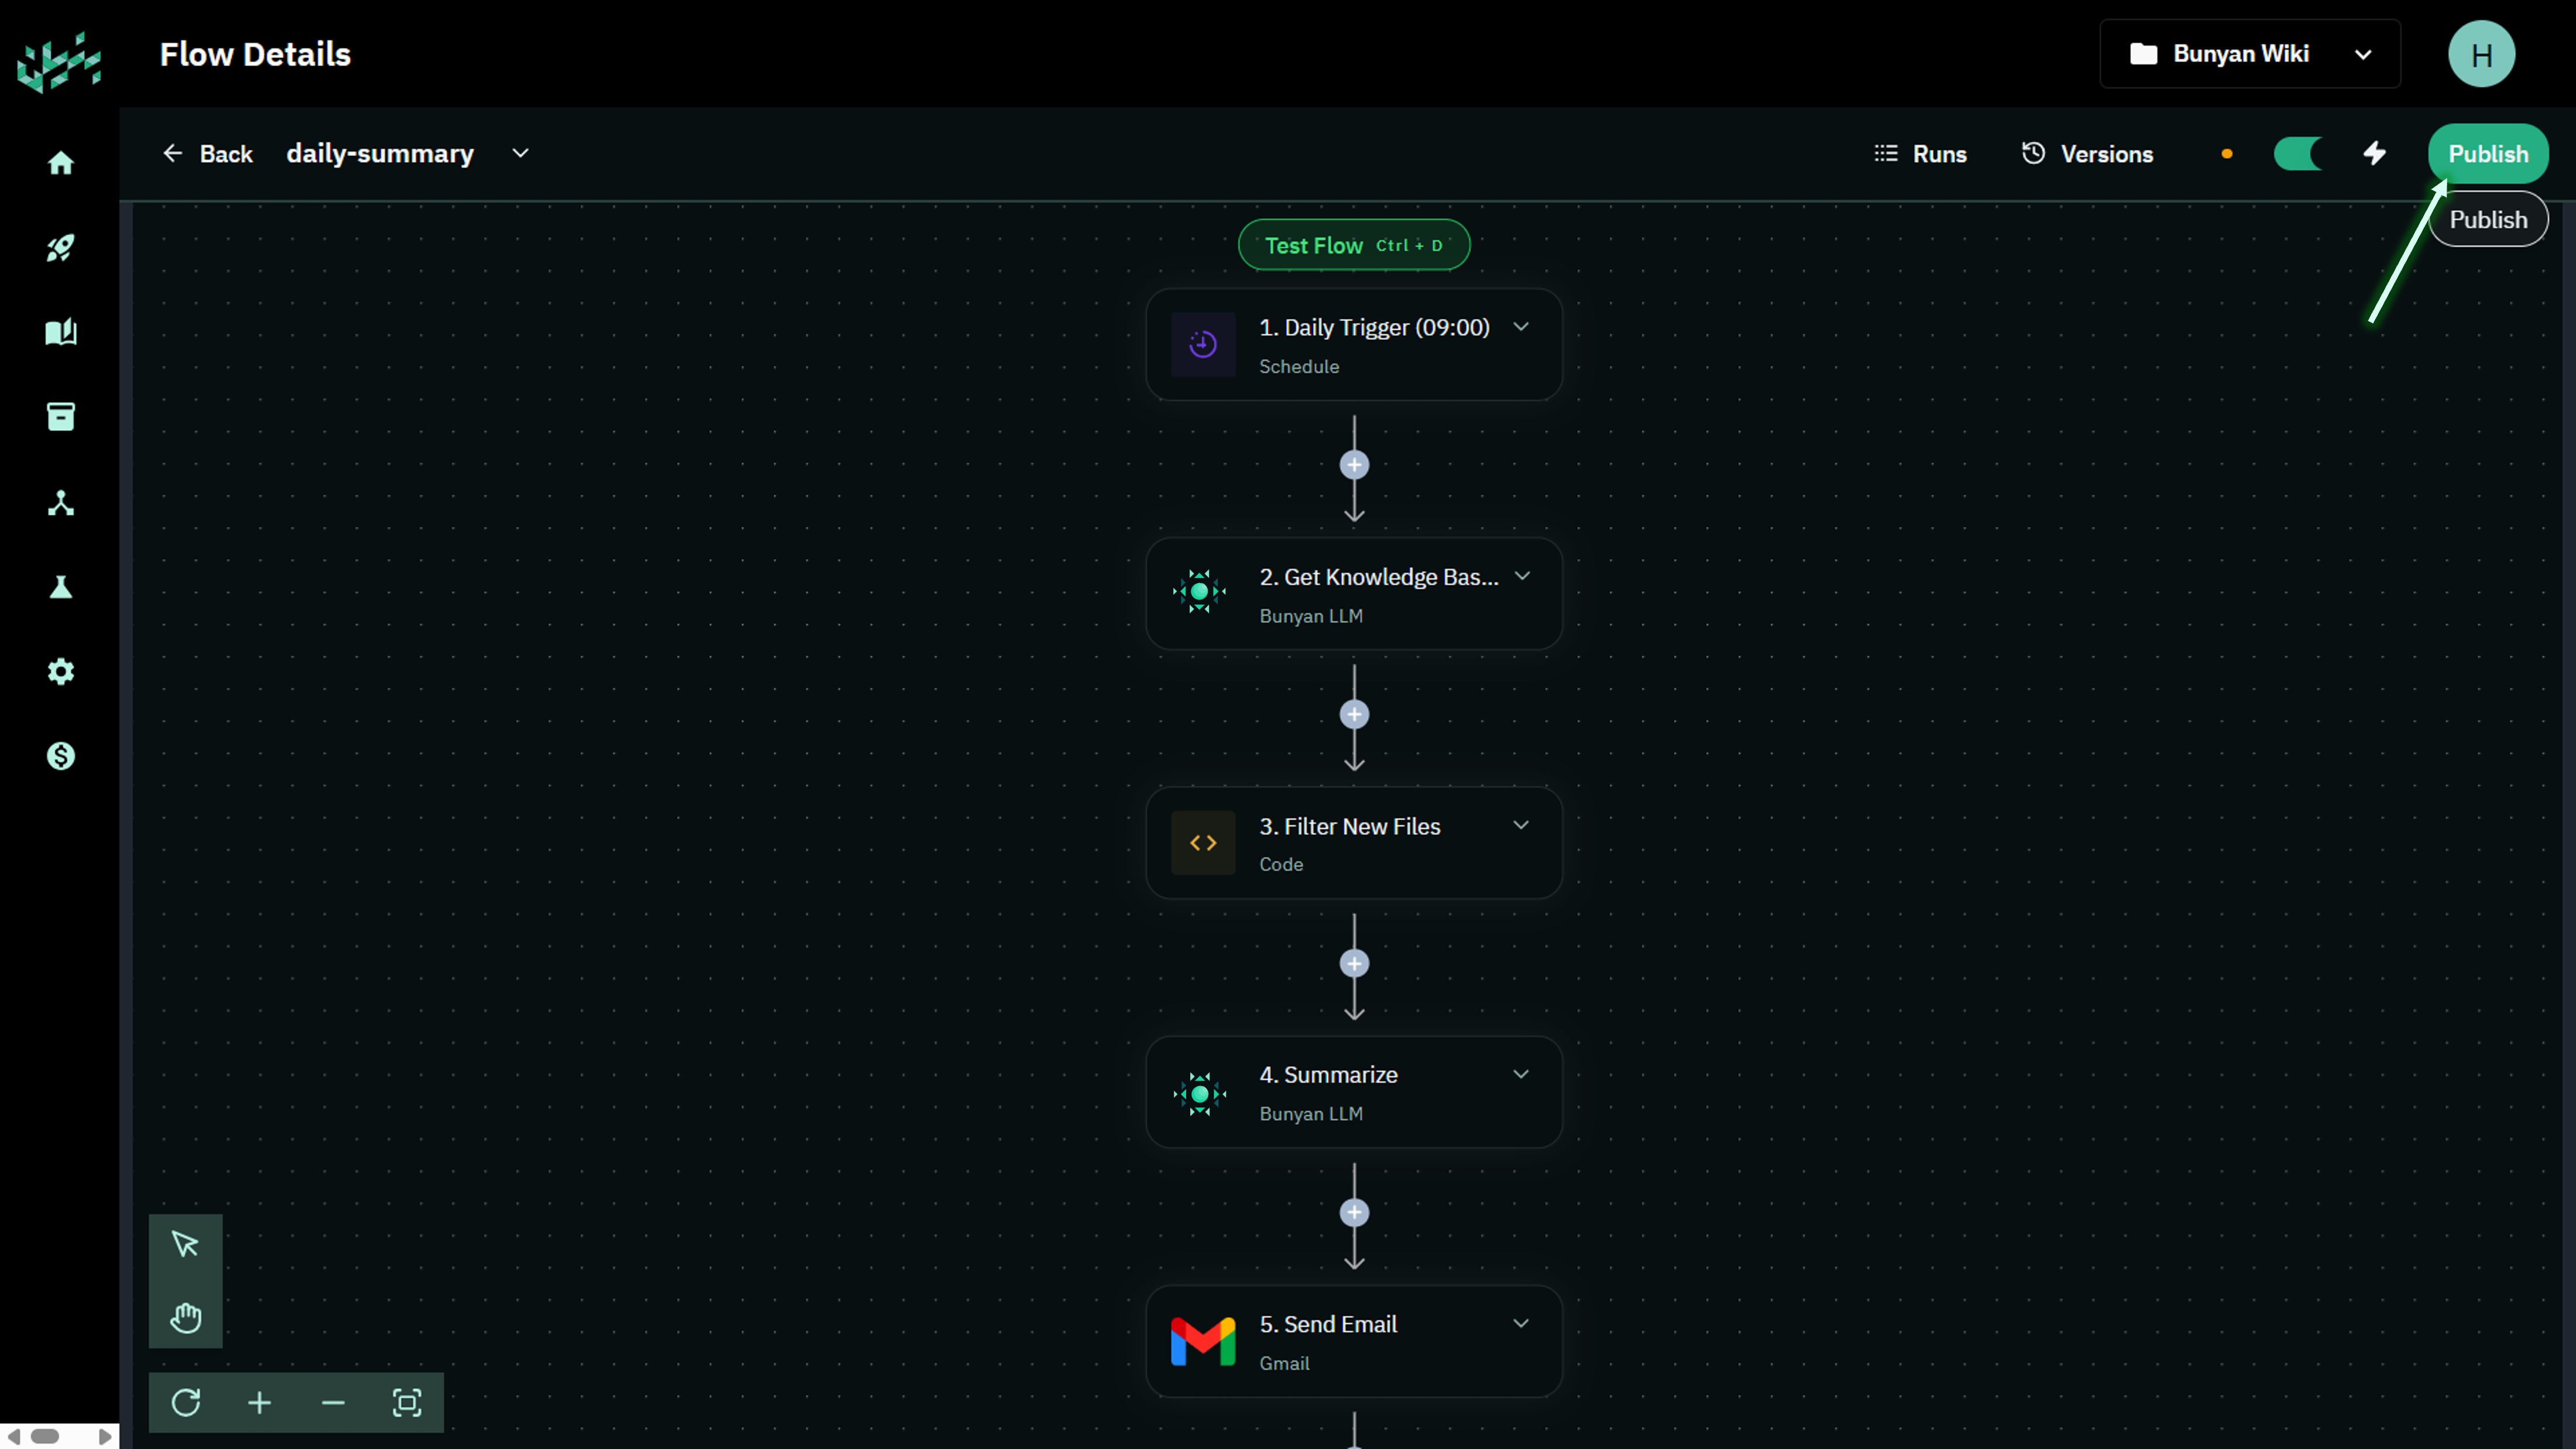
The enabled flow runs according to its schedule. Check Runs after the first scheduled execution to confirm the outcome. Use the flow's status control to disable it when you want to stop future scheduled runs.
Edit the Workflow Later
Open the flow, update its steps, test the changes, and publish the new version. Check that the flow has the intended enabled or disabled status afterward.
You can extend a working flow with the actions available in your workspace. For actions that consume another step's result, use the data selector and inspect that result during testing before mapping it into the next step.